

Originally published at blog.powerupcloud.com on November 1, 2015.
Amazon Import Export is a service that makes it easier to export large amounts of data to EBS volumes, s3 and Glacier. You can ship your own portable storage device to AWS and after receiving, they will mount the device and copy to an s3 bucket or an EBS volume. Not only can you import data to AWS, you can also export data from AWS using this service. It used to be Amazon Import Export until 2015 re:Invent, but with the announcement of Snowball, shipping disks is now Amazon Import Export Disk.
We had to export about 10 terabytes of data to a couple of S3 buckets for one of our clients. We had tried Tsunami and Aspera already and exported a subset of data, but since we had a deadline to meet, we figured it would be faster to ship a disk from the US data center and load data directly to s3 buckets. Since I didn’t find many articles about Import/Export in detail, I thought I would write one.
Choose a compatible disk
It is very important to choose a compatible external storage device to ship. S3 export supports NTFS, EXT2, EXT3, EXT4, exFAT, and FAT32 filesystem types and up to 16 TB. A full list of supported file systems, maximum capacity, device type, adapter power requirements are available here.
Create an Import Job
You need to create an Import job to get started. There are a couple of ways — using Import/Export web service tool or AWS cli. I have used web service tool for this article.
download the tool from here
Extract the contents from the downloaded zip file
You will find a file called AWSCredentials.properties file. You need secret and access keys of an IAM user that has enough access to create and view Import/Export jobs. Since we are importing data to an S3 bucket, the user should also have read and write access on the target S3 bucket(s).
Fill the AccessKey and SecretKey on the above file and save it.
Create An Import Manifest File
Depending on the kind of import job, we need to create a manifest file in order to create the import job. This will have details of an s3 bucket for logging information, notification email, return addresses and import job destination. Web services folder we have extracted in the above step comes with example manifest files for EBS/S3/Glacier import/exports. My manifest file ImportThis.txt for S3 Import would look like this
manifestVersion:2.0
generator:Text editor
bucket:myappdatabucket
logBucket:myappdatabucket-log
eraseDevice:no
notificationEmail:joker@gotham.com;bane@gotham.com
acl:private
serviceLevel:standard
returnAddress:
  name:Bruce Wayne
  company:Wayne Enterprises
  street1:1007,Wayne Manor, Mountain Drive
  city:Gotham
  country:USA
  phoneNumber:201-xxx-xxxx
Pay attention to eraseDevice option. This is a directive for AWS to whether or not the device will be erased before shipping back. The default is to erase data unless you explicitly state that you don’t want it erased.
Creating the job using web service tool
Open a command prompt and cd to the directory you have extracted above. and run the following command.
java -jar lib/AWSImportExportWebServiceTool-1.0.jar CreateJob Import ImportThis.txt
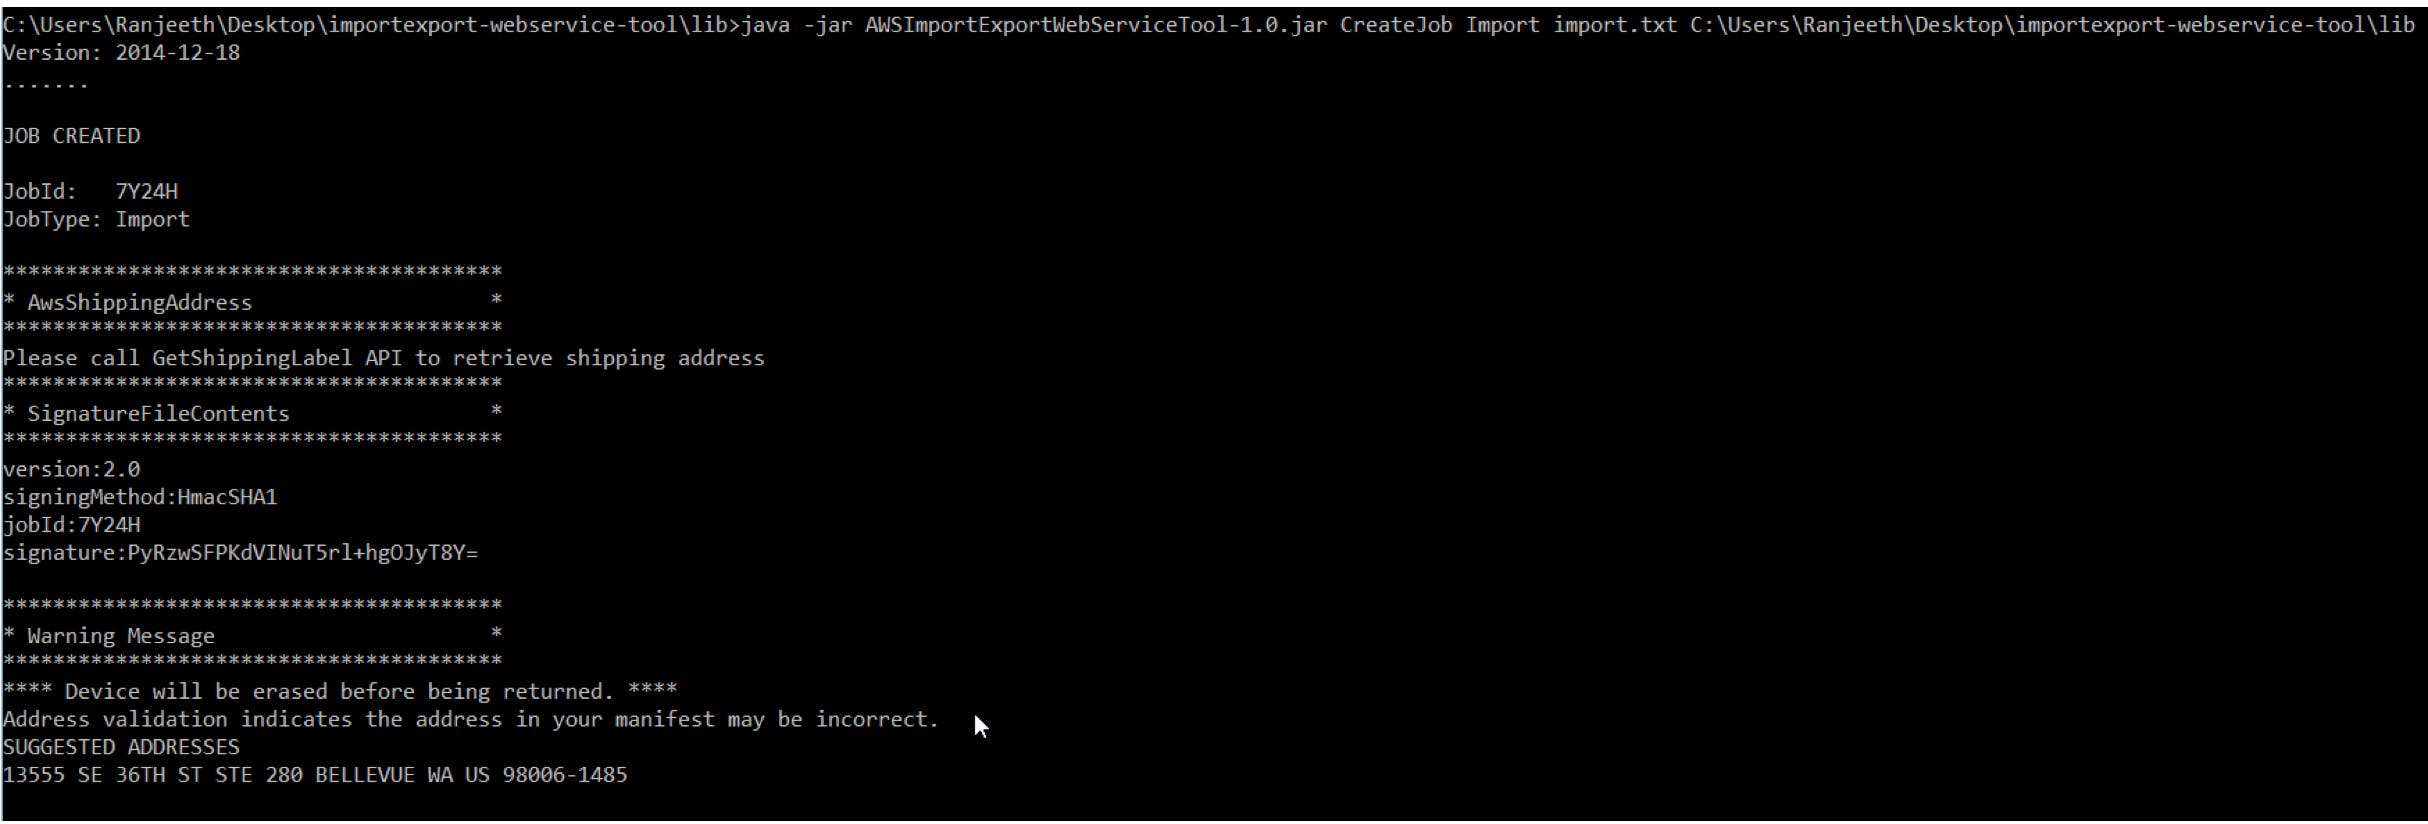
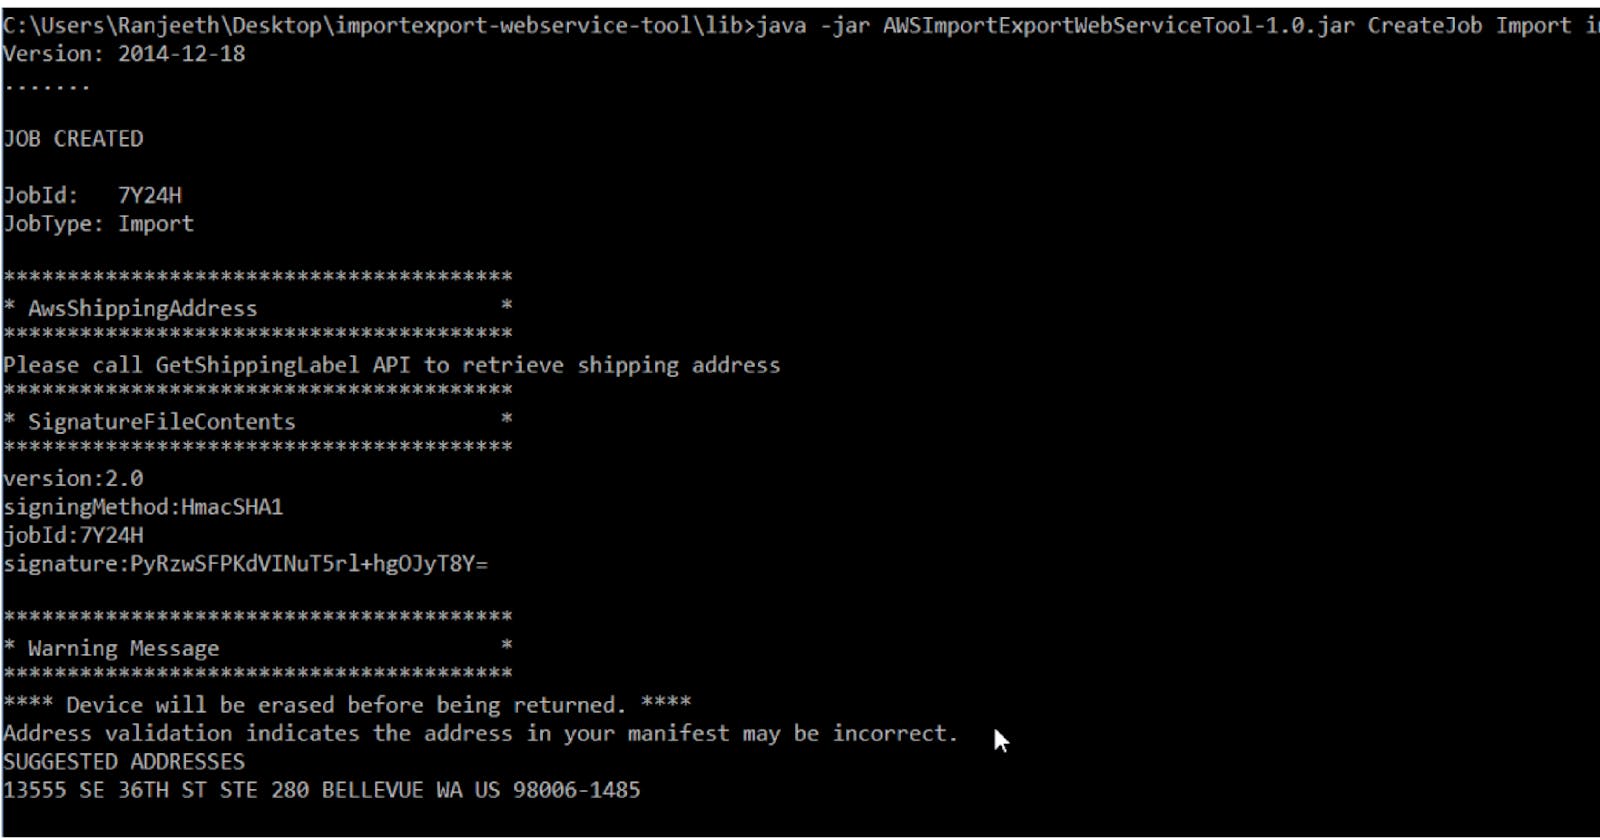
This will create a job using the details provided inside the manifest file and also create a file named SIGNATURE in your working directory. If you check the file, you will see something like this -
version:2.0 signingMethod:HmacSHA1 jobId:7Y24H signature:PyRzwSFPKdVINuT5rl+hgOJyT8Y=
Save this signature file because we will need to copy it to the root of the device before shipping it.
Get shipping address
Though you created the job successfully, you still don’t know where to ship to. In order to get the shipping address, use GetShippingLable command to generated a pre-paid shipping label.
Run the following command
java -jar lib\AWSImportExportWebServiceTool-1.0.jar GetShippingLabel
It will prompt you a series of questions like JobID that you created on the above step, the address specified in the manifest file etc. Since I have specified an s3 bucket for logging, my shipping label was saved as a pdf file on it. It looks like this.

You are now nearly done. On to the final step now.
Shipping the device
Copy the SIGNATURE file to the root of the storage device.
Download the packaging slip, print it and fill the values:
Date: mm\dd\yyyy
AWS Account Email: The email you signed up with, root account Contact: Bruce Wayne
Phone\Email: 425-xxx-xxxx\xyz@gotham.com
JobID: 7Y24H (you should use this same jobid) DeviceIdentifier\SerialNumber: Someidentifier\YourDeviceSerial (If your device has a serial number)
Use the prepaid shipping label you got above, print it and securely attach it to your storage device. It has the destination address.
Ship the device and if the storage device has cables and power supply, ship them too via UPS. We have to do this ourselves. You can arrange for a pickup from UPS by calling them or you can visit a facility.
Verify Job Status
This is easy. You can verify status using command below
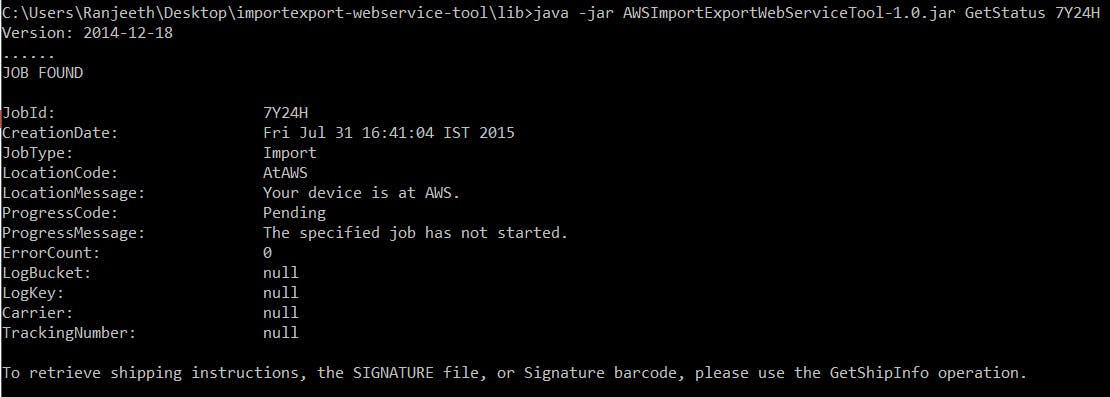
Happy import/exporting!
Originally published at blog.powerupcloud.com on November 1, 2015.